Creating your own worm farm is easy and inexpensive, and requires very little maintenance. You can set it up in under two hours, for less than $50 and you only need to spare five minutes a week to keep your worm farm in tip-top shape.
Fun facts about worms
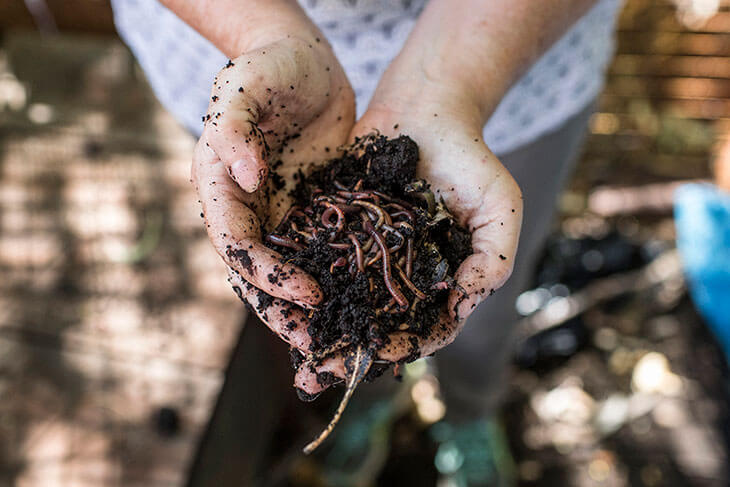
Worms double in population every 8 weeks or so – the longer you have your worm farm the more worms you’ll have, the more they can eat and the richer your fertiliser will be!
Compost worms are different to earthworms (i.e. the ones you find in your garden). They live closer to the surface, prefer wetter conditions and, most importantly, are hungry for your food scraps.
A 500g bag contains around 1,000 compost worms.
Follow these 3 easy steps and in no time you’ll be reaping the rewards of your own worm farm – and your plants will love you for it! Those little carbon crusaders and garbage gobblers not only devour all of your food scraps, they also help reduce your greenhouse gas emissions and carbon footprint!
Step 1: Create your worm home
You don’t need to buy an expensive worm farm from the garden centre or hardware store to get started.
Here are 8 ideas for items that you could re-purpose to create your own worm castle (and save from landfill):
Polystyrene foam fruit boxes or crates
Esky
Old council wheelie bin
Fish tank
Bath tub
Dresser drawer
Fridge
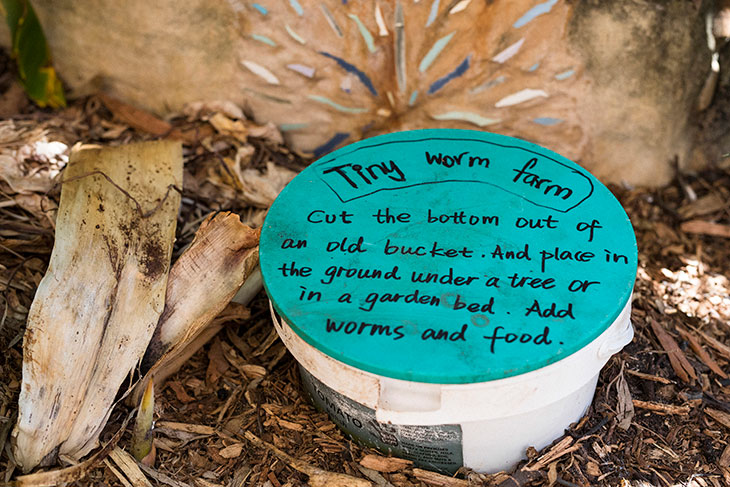
Bucket (for a mini worm farm!)
Whatever vessel you choose, your worm home will need to have solid ventilation, drainage, insulation and protection from the elements and predators. Head to YouTube to check out how to set up the container (like this one from the Garden Gurus).
The first step is providing bedding for the worms. Put a couple of sheets of newspaper in the bottom of the container to stop the worms falling through the drainage holes (they are known as great escape artists!). Next, add a bedding material like cow manure, sawdust, coconut fibre or shredded newspaper. Then, sprinkle some soil (2-4 cups) on the top, as this introduces beneficial micro-organisms.
If you’ve got the space, an old bathtub can make a great home for your worm farm.
Head to your local community garden, hardware store, garden centre, local council or online and purchase a bag of worms.
Spread the worms over the bedding and cover with a layer of damp newspaper, a hessian sack or an old piece of carpet to keep the mix cool, wet and dark. Let your new critters settle in for a week or so before you begin to feed them.
It’s important to find a good place in the garden for your worm farm – a cool, sheltered spot away from direct sunlight in summer and a warm, sunny spot for winter. Try to make it easy for yourself too – locate it close to the kitchen so you don’t have far to travel to feed those hungry mouths!
Step 2: Feed them
Composting worms are capable of eating up to their own weight in food scraps each day – and they’ll eat almost anything!
This includes:
Well-chopped kitchen scraps (including leftover cooked veg, peelings and fruit offcuts - not citrus)
Tea bags, tea leaves and coffee grounds
Human and pet hair
Dust from your vacuum cleaner
Crushed eggshells
Small amounts of bread or pasta and other processed foods
Even a small worm farm can be a great way to reduce your waste at home.
Don’t add onion, garlic, chilli, dairy, citrus fruit, meat and bones, fish, oils or grease, or dog or cat droppings, as the worms are not generally fans of these!
Step 3: Reap the rewards
Keep feeding the worms. A worm farm should be clean, so if the food is going mouldy, you’re overfeeding them. If this is the case, cut back on how many scraps you put in the farm for a few days to see if it improves.
Every so often add a handful of soil too, as this helps the worms grind up the food.
Worms need to breathe, so give the top 5-10cm a fluff up every now and then with a fork. Adding paper and cardboard also keeps the feed layer open and airy.
Keep the worm farm damp and the worms well fed, and in a couple of months you’ll have a concentrated liquid fertiliser (dilute 1 part worm liquid to 7 parts water) and a slow-release, biologically active solid fertiliser in the form of castings (harvest the worm droppings every 4-6 months) to use on your plants and garden. Trust us, they will love you for it!
We’d love to see pictures of your new worm farms in action and use them to help inspire others. Share them on social media using #WasteSorted, tag us on Facebook and Instagram or send us an email.
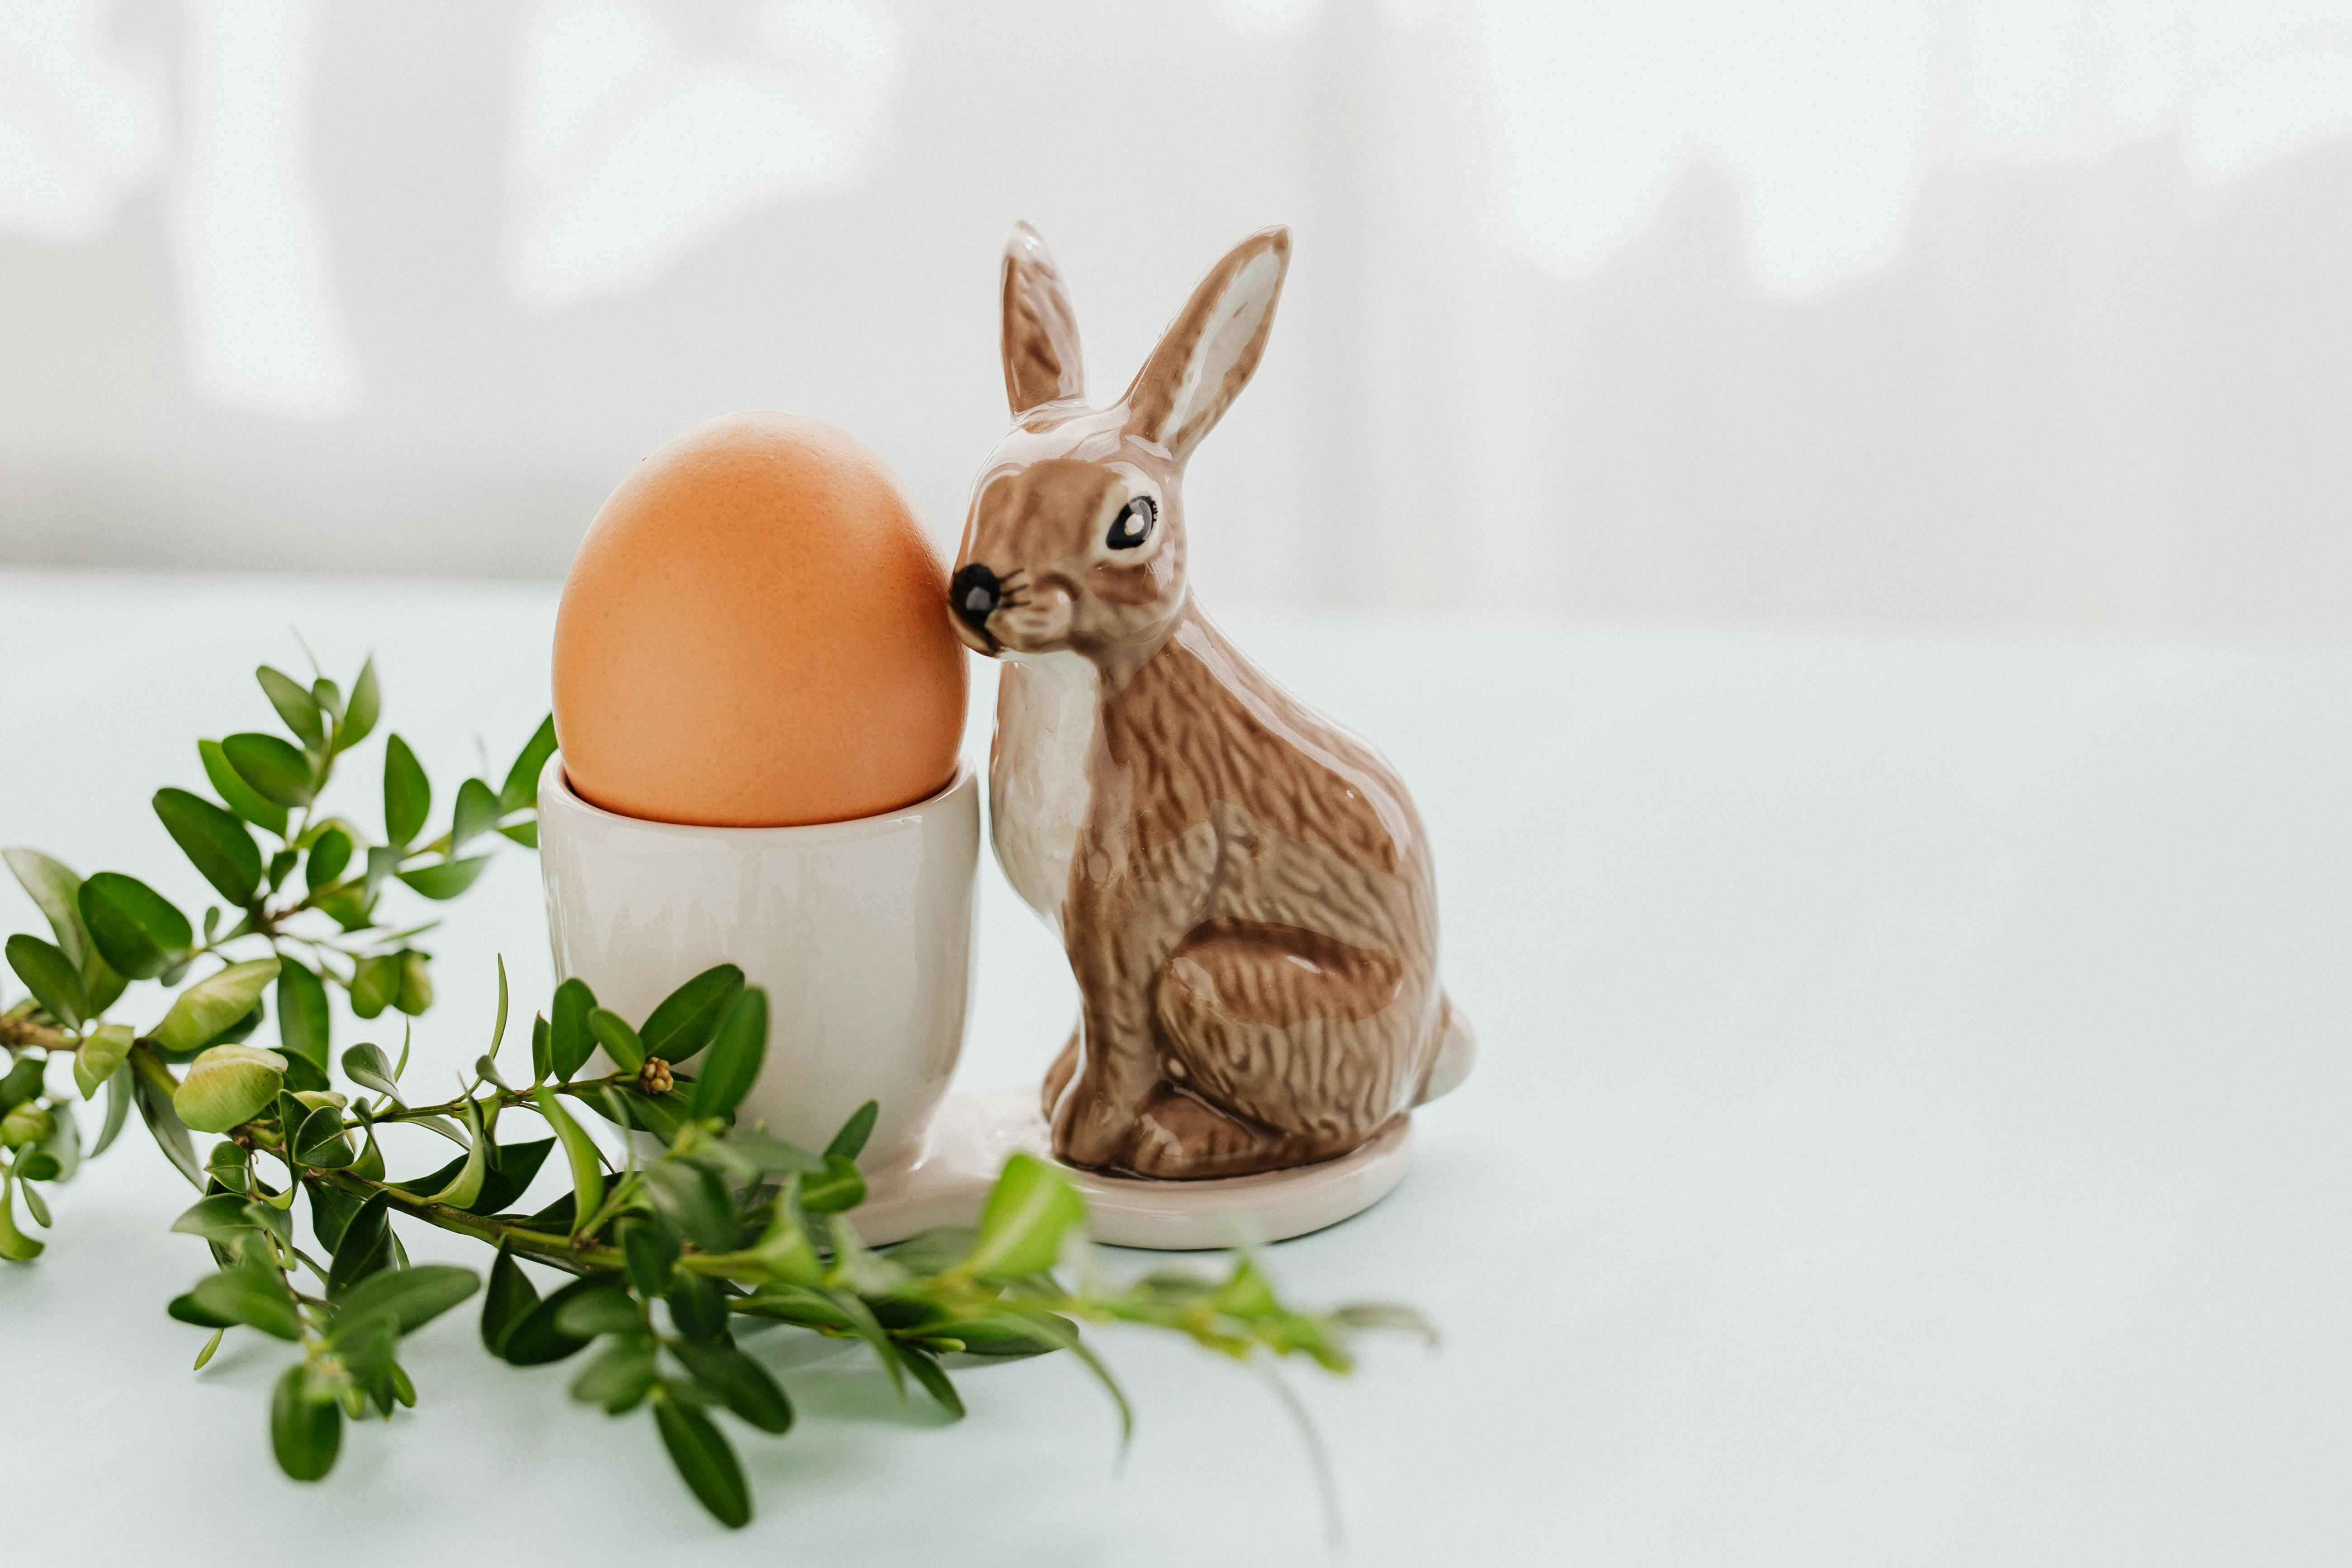
Easter is a time for slowing down, catching up with family and enjoying a few treats. But it can also come with a lot of extra waste, from packaging and food scraps to novelty items that don’t last much longer than the long weekend.
Forget the 12 days of Christmas, we’ve put together a guide featuring 12 ways to save waste at Christmas. Small actions matter even more over the festive season so now’s the time to school-up and remind yourself of the different ways you can own your impact in the lead up to and during Christmas.
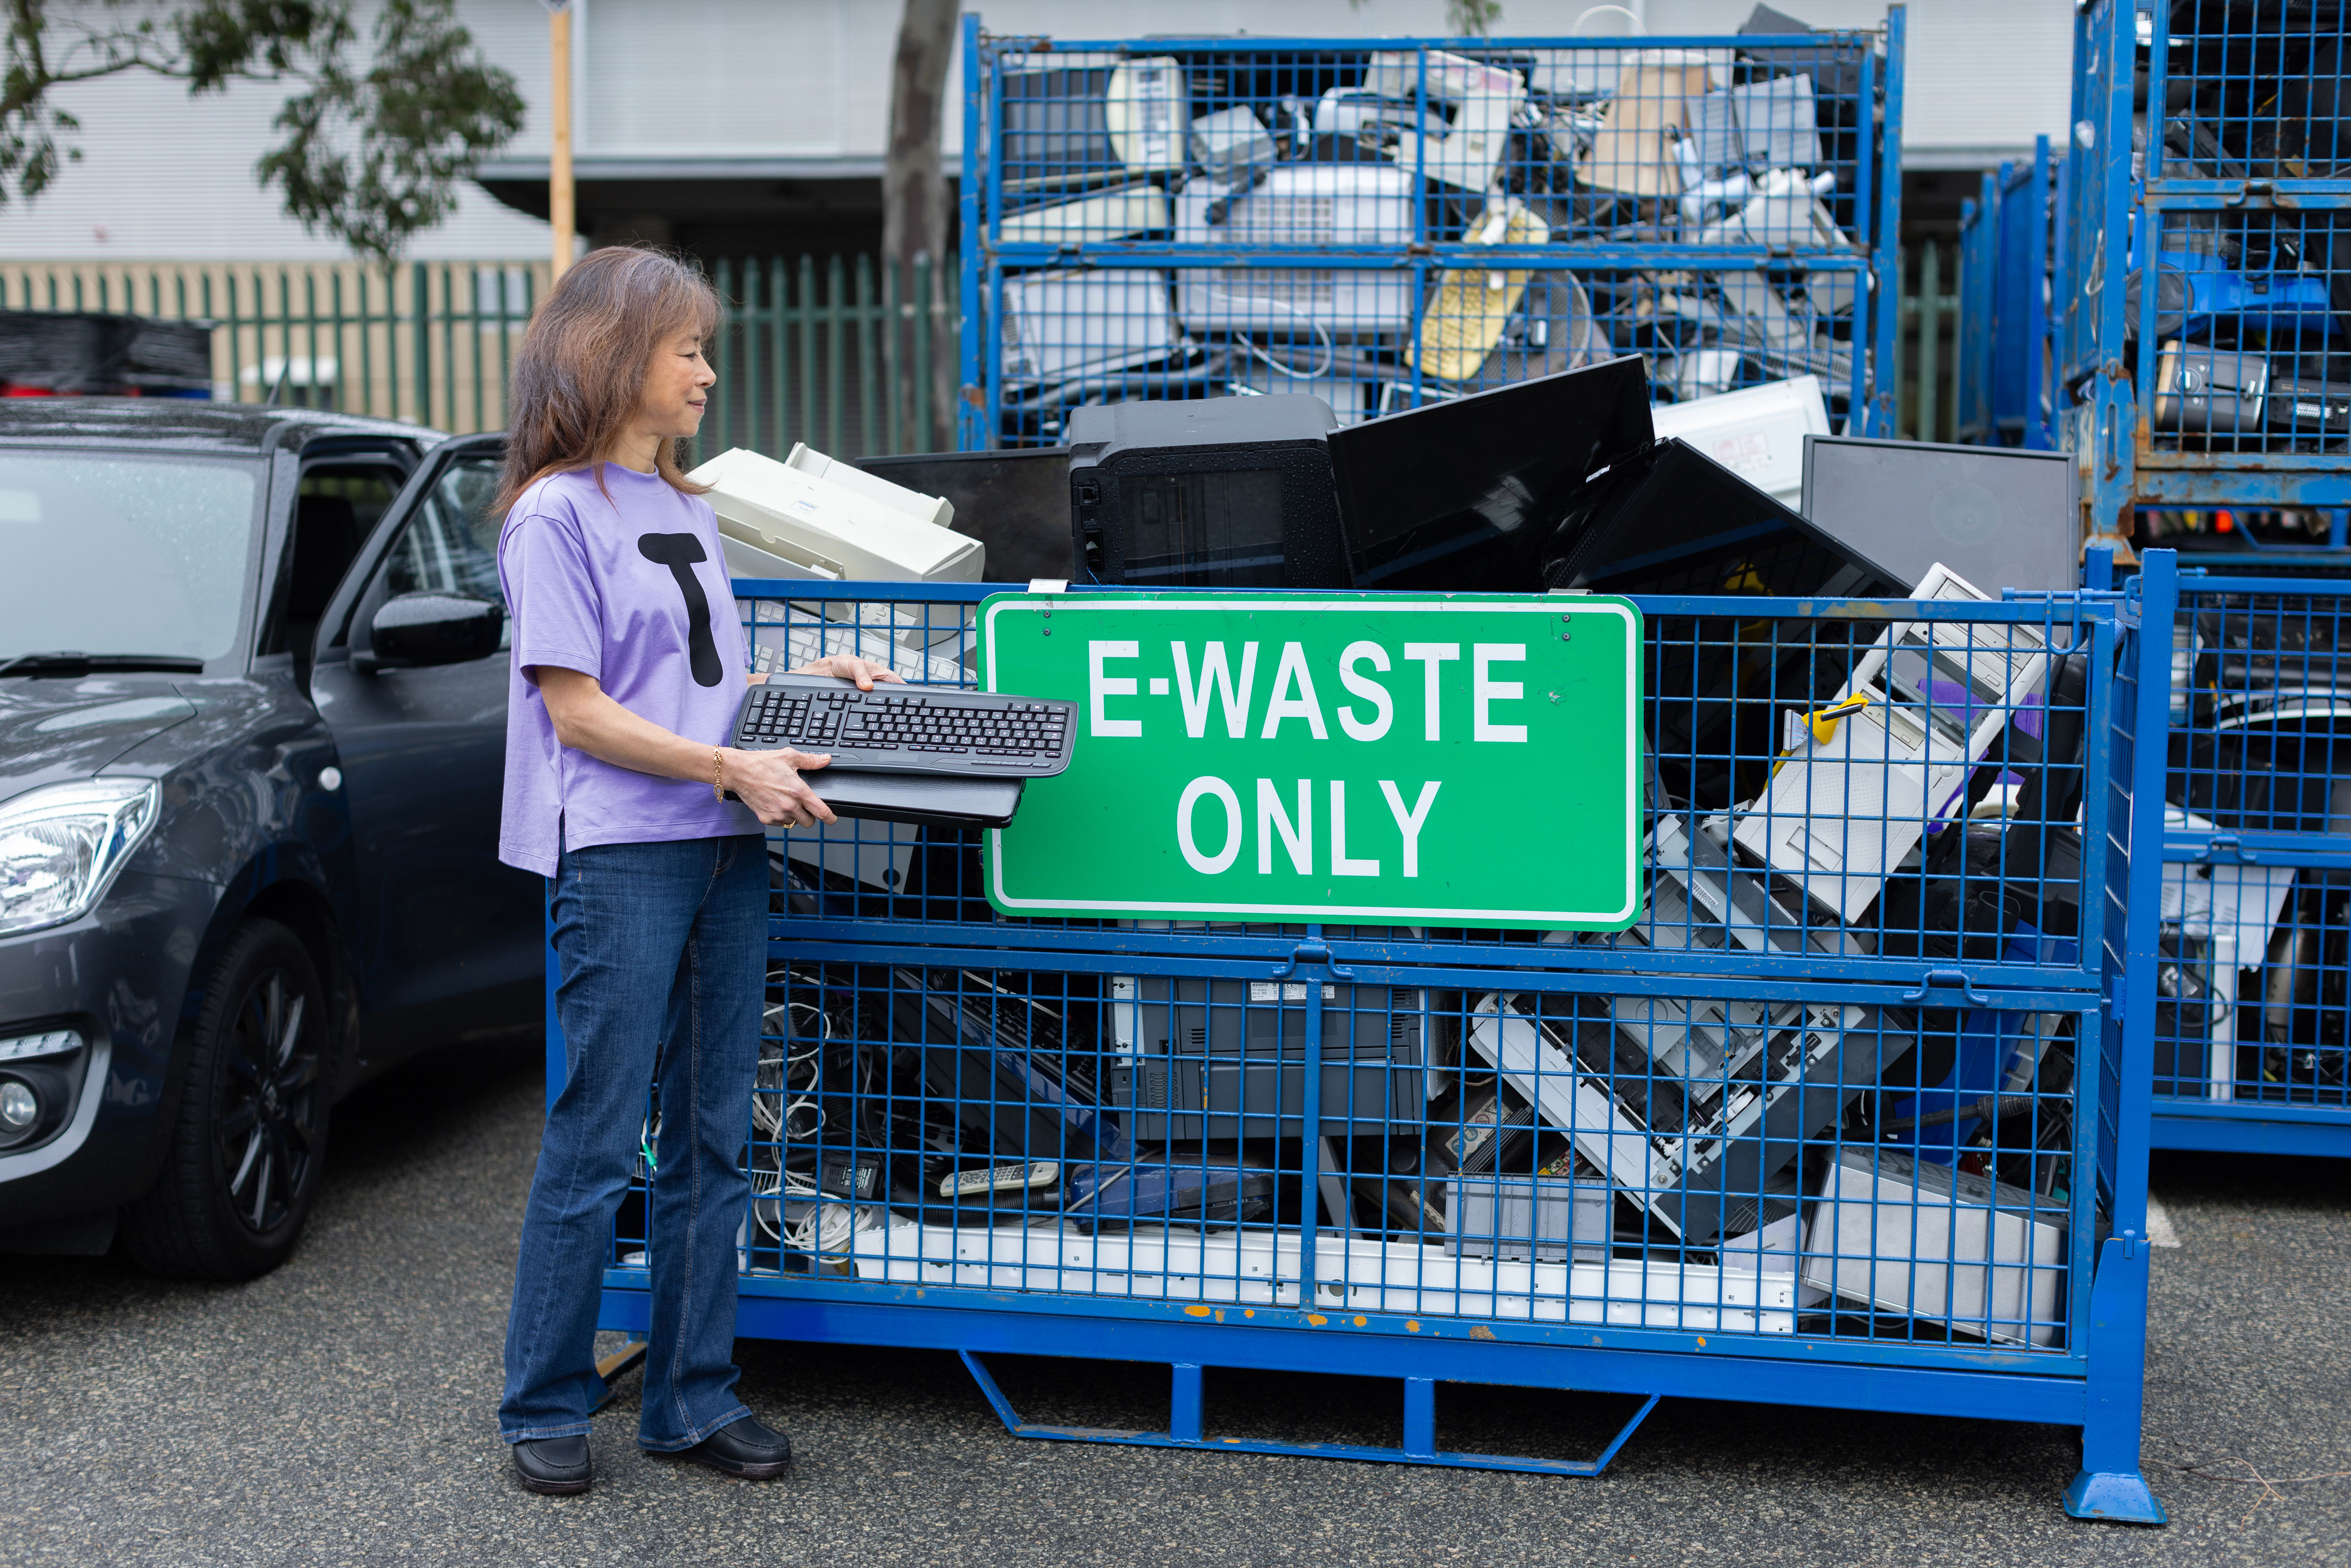
In today’s fast-paced tech world, as new devices are released and replaced, older electronics that still have plenty of life often end up forgotten in drawers, or worse, the bin!